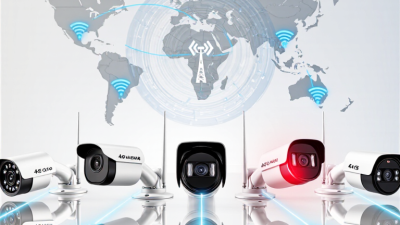
Choosing a solar security camera should begin with the property, not the product. A quiet gate, a shaded driveway, and a bright warehouse wall require different solutions. The right Security Camera System Solar must balance image quality, battery capacity, solar exposure, connectivity, and installation height.
Mike Haldas, a surveillance industry educator and co-founder of CCTV Camera Pros, has said, “A camera is only useful when it captures the detail you need, where you need it.” That principle remains practical. A sharp daytime image may still fail at night. A large battery may drain quickly during cloudy weather. Small details matter.
This guide presents 10 Tips for Choosing a Solar Security Camera System. It examines camera resolution, night vision, motion detection, storage, weather resistance, cellular or Wi-Fi connection, and battery performance. It also considers maintenance, because solar equipment is not maintenance-free. Dust can cover the panel. Leaves can block sunlight. Cold temperatures can reduce battery efficiency.
No checklist is flawless. Site conditions change. A camera facing the sunrise may capture glare. A panel mounted beneath a roof edge may receive less energy than expected. These issues are easy to overlook.
Reliable selection requires more than comparing specifications. Look for transparent testing, clear warranty terms, secure data practices, and realistic performance claims. A dependable system should record useful evidence, protect privacy, and continue operating through ordinary weather changes. Careful planning now can prevent a costly replacement later.
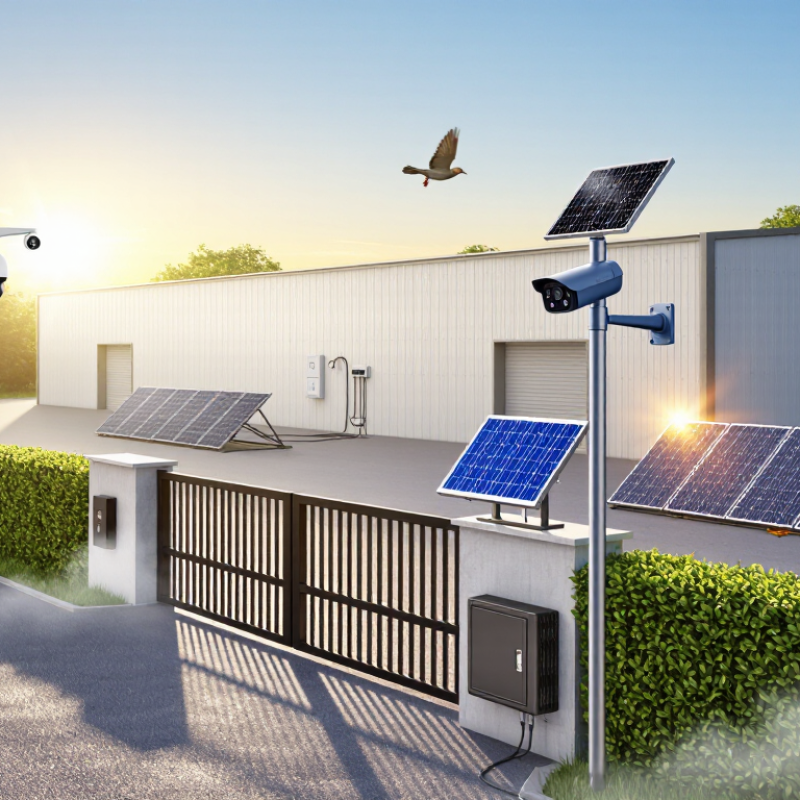
Defining your security needs is the practical starting point for a solar security camera system. The FBI’s 2023 Crime Data Explorer recorded more than 847,000 reported burglaries in the United States. That figure does not describe every property, but it shows why entry-point coverage matters. Walk around your property at night. Note gates, doors, garages, driveways, and secluded windows. Mark locations where a person could approach unseen.
Coverage is more than camera count. Measure each camera’s viewing angle and identify blocked areas, such as trees, roof edges, or parked vehicles. A wide lens may cover a yard, but it can lose facial detail at a distant gate. I have found that placing one camera too high often creates a clean overview and weak identification. That trade-off deserves honest review. Draw a simple site map before buying equipment.
Solar performance also depends on location. The National Renewable Energy Laboratory’s PVWatts guidance accounts for shading, orientation, and local solar resources when estimating system output. A shaded camera may record well but recharge poorly. Check winter sunlight, not only bright summer conditions. The U.S. Department of Energy notes that solar panels still produce power during cloudy weather, though output decreases. Choose coverage priorities before adding features. A camera facing a low-use garden may matter less than one protecting a frequently used side entrance. Recheck the plan after installation, especially at dusk.
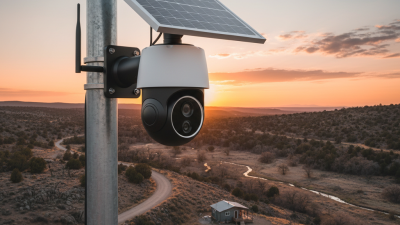
Choosing a solar security camera starts with comparing useful features, not impressive numbers. A 4K label cannot guarantee clear evidence at night. Check the image sensor, lens quality, frame rate, and video compression. A wider viewing angle covers more ground, but may make faces appear smaller. For a driveway, I prefer detailed images within 20 feet over an extremely wide picture. Test the camera from several positions before installation.
Image quality depends heavily on lighting. Look for HDR when sunlight enters the frame behind a person. Without it, the face may become a dark shape. Review sample footage from shaded corners, wet pavement, and moving bicycles. Cloudy weather also matters because solar charging can weaken. A larger battery helps, but it does not solve poor placement or repeated motion alerts. My first installation faced a bright wall, and the reflected light reduced useful detail.
Night vision needs careful comparison. Infrared vision can show clear black-and-white images, but nearby objects may appear washed out. Color night vision often needs some ambient light and may produce more noise. Check the stated infrared distance, then reduce that claim for fences, rain, and uneven terrain. Motion detection zones should exclude trees and roads. Small details count. A camera that records every passing shadow may drain its battery quickly. I would compare real nighttime clips, not only daytime demonstrations, before trusting the system around a home.
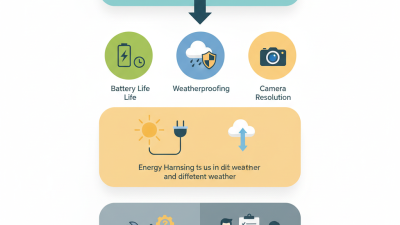
Compare camera features, image quality, and night vision before selecting a solar-powered security camera. The chart shows representative specifications for common camera classes, not brand-specific products.
How to read the chart: Higher resolution provides more image detail, while longer infrared night-vision range improves coverage in darkness. Also check solar-panel performance, battery capacity, weather resistance, motion detection, storage options, app alerts, privacy controls, and installation requirements.
Solar output matters more than panel size alone. The IEA PVPS Trends 2024 report recorded 456 GW of new solar capacity worldwide in 2023, but sunlight varies sharply by location. Use local solar data, not optimistic packaging claims. NREL’s PVWatts guidance also shows that shading, panel angle, and seasonal sunlight directly affect energy production. A small tree shadow can matter.
Check the battery in watt-hours, not only milliamp-hours. A camera using 4 watts for twelve active hours needs about 48 watt-hours daily, before charging losses. Add several cloudy days of reserve. More capacity helps, but large batteries charge slowly during winter. That trade-off is easy to miss. Test night recording, motion alerts, and infrared use together, because these features increase consumption.
Weather resistance needs a recognized rating. Under IEC 60529, IP65 indicates protection from dust and water jets, but it does not guarantee protection against immersion, condensation, or freezing temperatures. Look for sealed cable connections and a drainage-friendly mount. The panel should face unobstructed sunlight, while the camera should cover the entrance without glare. In practice, installation quality often decides reliability. I have seen well-sized systems fail because a roof edge shaded the panel after noon. Manufacturers’ runtime figures can also seem generous, so allow a realistic margin for dirt, aging, and weak winter sunlight.
Connectivity deserves a hard check before mounting a solar security camera. Solar power does not fix a weak signal. Test Wi-Fi at the intended height, behind walls, and during evening congestion. If Wi-Fi fades, consider cellular connectivity, but confirm coverage and data limits. Sandvine’s 2024 Global Internet Phenomena Report found video represented 59% of global downstream traffic. That figure is not camera-specific, yet it explains why shared networks can become sluggish. Record a short clip before installation.
Storage choices deserve equal attention. Cloud recording is convenient, but it depends on monthly fees and internet availability. Local cards or network storage keep footage on site, though theft or hardware failure remains possible. At 2 Mbps, one camera can create roughly 21.6 GB of continuous footage daily. Motion-only recording lowers that number, sometimes dramatically. Do not assume it will. Choose retention according to risk, then test playback before trusting the system.
Alerts should be useful, not merely frequent. Test person detection, activity zones, sensitivity, and quiet hours with real movement. Verizon’s 2024 Data Breach Investigations Report found human involvement in 68% of breaches. Secure every account with multifactor authentication and limit shared access. Push alerts need a backup path. Consider SMS or a local siren when internet service fails. False alarms remain my recurring concern. Rain, insects, and waving branches can exhaust attention. Review alerts for a week, then adjust. The imperfect setting is usually better than disabling notifications entirely.
| Tip | Decision Dimension | What to Check | Practical Benchmark or Requirement | Why It Matters | Verification Method |
|---|---|---|---|---|---|
| 1 | Choose the right connectivity | Confirm whether the camera uses Wi-Fi, cellular data, or both. | Wi-Fi models require a stable network at the installation point; cellular models require compatible network coverage and a data plan. | Connectivity determines whether live viewing, cloud uploads, and remote alerts can work reliably. | Measure the Wi-Fi signal at the mounting location or check cellular coverage before installation. |
| 2 | Compare wireless frequency options | Check supported Wi-Fi bands and the distance between the camera and router. | The 2.4 GHz band generally offers longer range and better wall penetration than 5 GHz, while 5 GHz can provide higher speeds over shorter distances. | A camera may disconnect if its selected band cannot reach the outdoor mounting position. | Test the intended band outdoors and review whether the system supports automatic band selection or an outdoor access point. |
| 3 | Evaluate solar charging and battery capacity | Review solar-panel wattage, battery capacity, charging conditions, and low-light performance. | The panel should receive direct sunlight for part of the day, and the battery should include protection against overcharging and deep discharge. | Cloudy weather, shade, winter daylight, and frequent motion events can reduce available energy. | Check the installation area for seasonal shading and confirm the manufacturer’s operating-temperature and charging specifications. |
| 4 | Select suitable video resolution | Compare image resolution, frame rate, field of view, and available digital zoom. | 1080p is commonly sufficient for general monitoring; higher resolutions can show more detail but usually require more storage, bandwidth, and power. | Resolution affects the ability to identify faces, packages, license plates, and other details. | View sample footage captured in daylight and at night from a distance similar to the planned installation. |
| 5 | Check night-vision performance | Review infrared night vision, color-at-night requirements, low-light sensitivity, and glare control. | Infrared illumination supports black-and-white recording in darkness; color night vision generally requires ambient light or an integrated light. | Night performance is essential because many security events occur in low-light conditions. | Inspect nighttime sample footage and check whether nearby reflective surfaces can cause infrared glare. |
| 6 | Compare storage options | Determine whether recordings use local storage, cloud storage, or both. | Local storage can reduce recurring fees but may be lost if the camera is stolen; cloud storage supports off-site access but may require a subscription. | Storage type affects evidence retention, privacy, cost, and access after physical damage to the camera. | Confirm supported memory-card capacity, overwrite behavior, cloud retention period, export format, and subscription terms. |
| 7 | Assess motion detection controls | Look for adjustable sensitivity, activity zones, person detection, vehicle detection, and detection-range settings. | Activity zones and object filtering should be adjustable so users can exclude roads, trees, sidewalks, or other frequent sources of false alarms. | Accurate detection reduces unnecessary notifications and conserves battery and storage capacity. | Test the system with people, vehicles, pets, moving branches, and changing sunlight at different distances. |
| 8 | Review the alert system | Check push notifications, email alerts, siren controls, two-way audio, and alert scheduling. | Useful systems allow notification categories, schedules, sensitivity levels, and user permissions to be configured separately. | Customizable alerts help users respond quickly without being overwhelmed by repeated notifications. | Test alerts under weak network conditions and verify that notifications include a useful snapshot or event link when supported. |
| 9 | Verify weather resistance and mounting | Check the enclosure rating, operating temperature, mounting hardware, and cable protection. | An IP65 rating indicates protection against dust and water jets; it does not mean the product can be submerged. | Outdoor cameras must withstand rain, dust, temperature changes, wind, and tampering. | Confirm the IP rating, secure the mount to a suitable surface, and position connectors under weather protection where possible. |
| 10 | Prioritize security, privacy, and maintenance | Review encryption, account security, firmware updates, user access, privacy zones, and maintenance requirements. | Use unique passwords, multi-factor authentication when available, encrypted connections, current firmware, and privacy masking for neighboring private areas. | Security controls help protect video footage, accounts, and personal information from unauthorized access. | Read the privacy policy, confirm update support, enable multi-factor authentication, and schedule periodic lens, panel, and battery inspections. |
10 Tips for Choosing a Solar Security Camera System
A solar security camera should fit the property, not just the product description. Check sunlight at the exact mounting point during winter and cloudy afternoons. A shaded wall may leave the battery weak by night. Choose a clear view of gates, driveways, and vulnerable corners. Test the wireless signal before drilling. My first installation estimate was too optimistic; extra height required a stronger bracket and a longer access ladder.
Maintenance is easy to underestimate. Inspect the panel every few months for dust, leaves, and bird marks. Clean the lens carefully, especially after storms. Ask about battery life, replacement procedures, and weather resistance. Some systems need firmware updates or occasional resets. Keep spare mounting screws nearby. Small parts disappear quickly.
Privacy deserves equal attention. Aim cameras away from neighboring windows and public spaces where possible. Use privacy masking, limited recording zones, and strong unique passwords. Check local rules before recording audio or sharing footage. Storage costs also shape the real price. Compare equipment, installation labor, replacement batteries, internet data, storage subscriptions, and future repairs. A cheaper camera may become expensive after two years. Write every recurring cost down. Then question your assumptions.